Despite common belief, not all video created to support an online course needs to be professionally produced. Self-recorded video can be an effective medium for both disseminating course content and engaging students, and can help instructors create a strong level of instructor presence in their distance learning environments.
To achieve maximum engagement and effectiveness, video should be reserved for short “bytes” of instructional delivery versus lengthy, theory-heavy monologues. When adapting course content into a video format, it is best to segment it into shorter pieces; two to five minutes per video is a good guideline.
In addition, it’s important to identify the purpose for each video and the key content points that must be delivered. Each video should support either a learning outcome or tie directly to a module assessment. The videos should not be seen as extraneous or irrelevant; they should be a part of the required learning path that students must participate in order to achieve the course outcomes.
Below are recommendations specific to creating high-quality, self-recorded videos:
1. DEVICES & PLACEMENT
Self-recorded video can be taped on a variety of devices in the following ways:
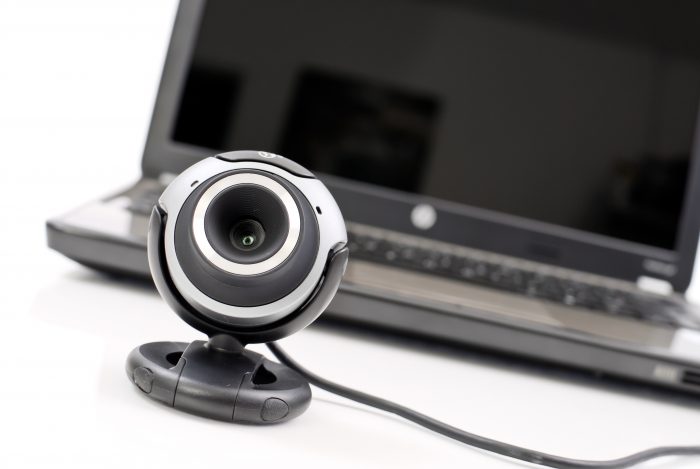
- Computer Webcam – Elevate the computer so that the screen is eye level.
- Cell Phone or Tablet Camera – Turn the phone horizontal and position it at eye level. Ensure the phone is stable to avoid shaking.
- Personal Digital Camera – Position the camera at eye level. Using a tripod is ideal, or place it on a stack of books to elevate it to the appropriate height.
2. SOUND
For a viewer to absorb the information presented in a video, the audio must be clear. There are several points to consider when creating a video with clear, discernible audio:
- Choose a space that isn’t too large, otherwise there may be an echo in the audio. An office or other small room is ideal.
- Ensure external noises are limited (traffic, air vents, passersby, etc.).
- External mics will greatly increase the quality of sound. However, be sure not to hold the mic too close to your mouth.
- If using a script, turn the phone or computer into a teleprompter to help deliver a clear and concise message. Try Teleprompter Lite for a free mobile or tablet version or EasyPrompter for the desktop.
3. LIGHTING
Lighting will have a significant impact on the viewers’ ability to see and enjoy the video content. A combination of overhead and table lamps creates the best lighting for a self-recorded video. If possible the following should be avoided:
- Fluorescent lights
- Sitting next to a window
- A single light source directly behind the subject being recorded
4. VIDEO QUALITY & FILE TYPE
In order to avoid the distribution of a grainy, low-quality video, it is best to:
- Record in HD, if possible, or the highest resolution the equipment will allow (1080p, 720p)
- Save the file as a mp4 or .mov
By following these basic guidelines you will be able to avoid lengthy, high-cost video production and instead easily create self-recorded video that can increase the impact of your online course content. In the comment section below, let us know if you have any additional tips for self-recorded videos or have run into any challenges.


